Cyclist
Watch: How to fit a press-fit bottom bracket
As frames get ever lighter, there’s increasingly less material with which to marry together all the different parts that combine to make up our bicycles. This has resulted in the disappearance of many of the threads, nuts and bolts that previously held them together.
Instead, with components now manufactured to infinitesimally tight tolerances, many parts can simply be pushed together, streamlining assembly and allowing manufacturers to whittle away ever more weight.
Consequently, a host of new press-fit standards has sprung into existence. The idea of using a mechanical press to squish components into your delicate and expensive carbon frame can be somewhat anxiety-inducing for the amateur mechanic, but with the right tools and a little patience anyone can get to grips with press-fit standards.
How to fit a press-fit bottom bracket
Time taken: 30 minutes
Money saved: £15
Tools required:
- Bottom bracket
- Bottom bracket bearing press
- 10mm Allen key
- Isopropyl alcohol
- Clean rags
1. Get set

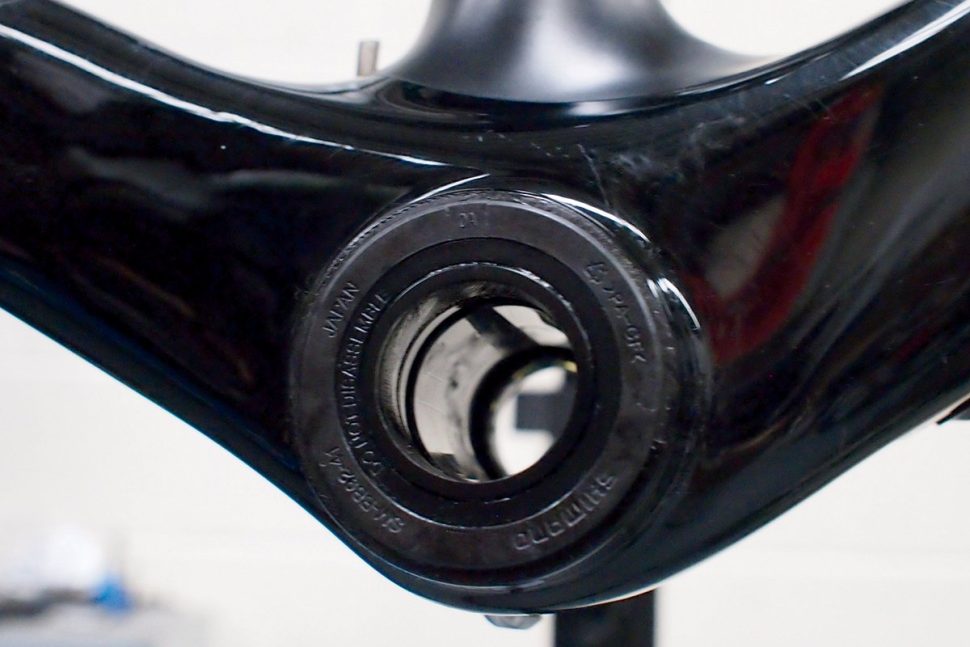
Here’s what a press-fit bottom bracket shell looks like – no screw threads, just a smooth internal surface. You’ll need to carefully tap out the old bearings, either with a bearing removal tool like Park Tool’s BBT-90.3 or with a bearing drift set.
2. Clean and prep

Clean the inside of the BB shell with alcohol and a fresh rag. For an aluminium frame, a light coating of grease can prevent creaking. Most manufacturers advise not to use grease on a carbon frame but it’s unlikely to cause problems. Anti-seize or retaining compound may also be recommended for carbon frames.
3. Load up the cartridge

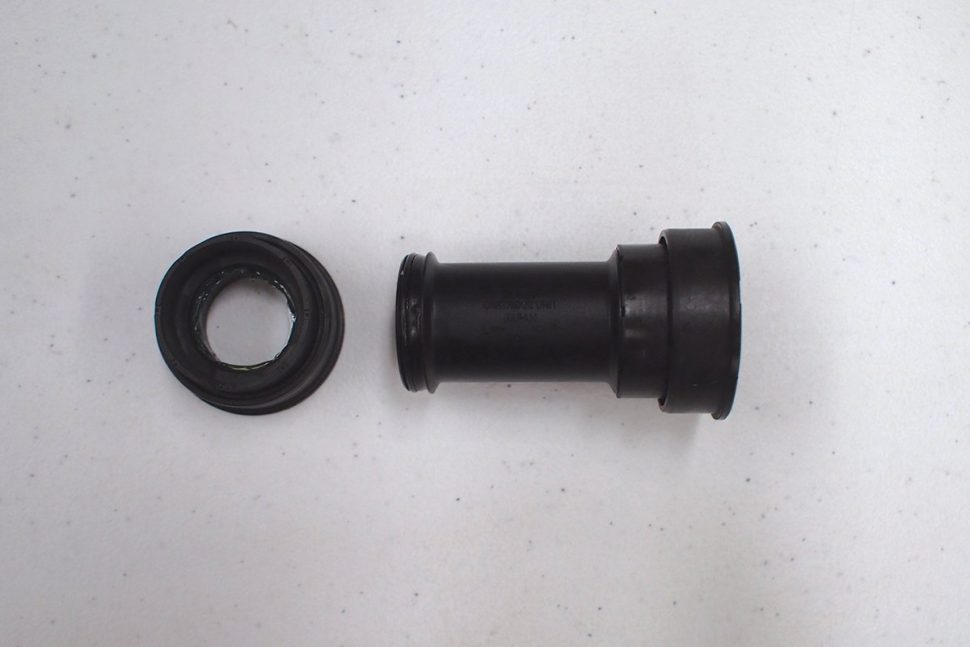
Press-fit bottom bracket cartridges normally consist of two plastic outers housing the bearings, joined with a sleeve – leave this attached to the drive-side. There are many types of press-fit BB but the principles for their installation are similar.
4. Pop it onto the press

Having the right tool will make life much easier to fit your bearings, as it’s extremely important to apply the pressure evenly. It’s also crucial that the press contacts the outer housing and not the bearing itself, as this will damage it.
Pro mechanic Chuck’s tip: ‘I used Park Tool’s BBP-1 bearing press set (£180, above) to whack in the bearings. But if you’re on a budget the TL-BB12 (£50) is a superb alternative.’
5. Get set

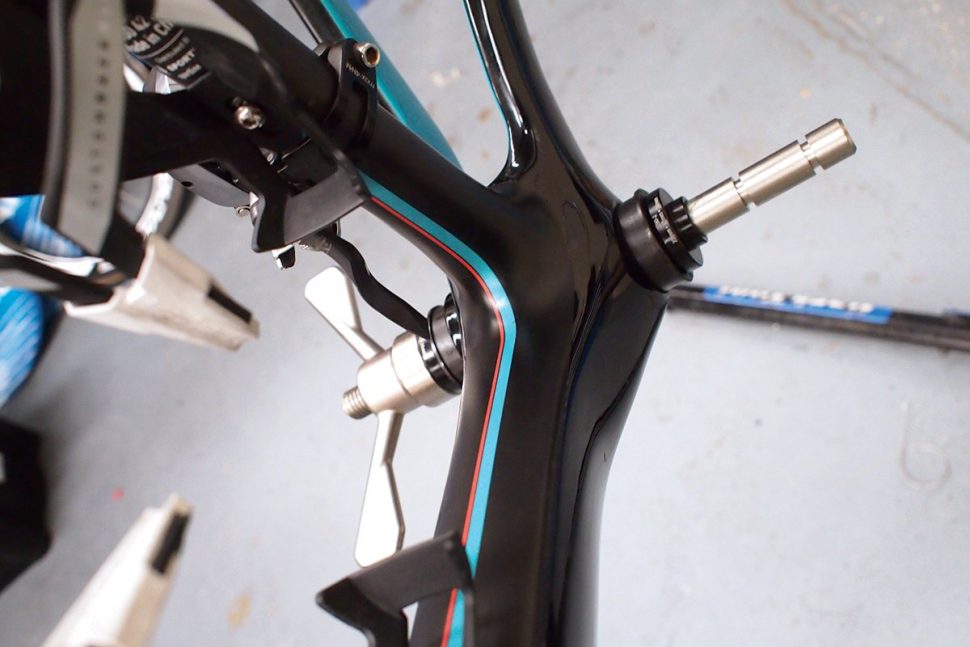
Fit the correct adapter to the press and load the drive-side BB cup (the one with the sleeve attached). Gently push the whole assembly into the frame. Pair up the second adapter and bearing and and push both onto the opposite side.
6. Increase the tension

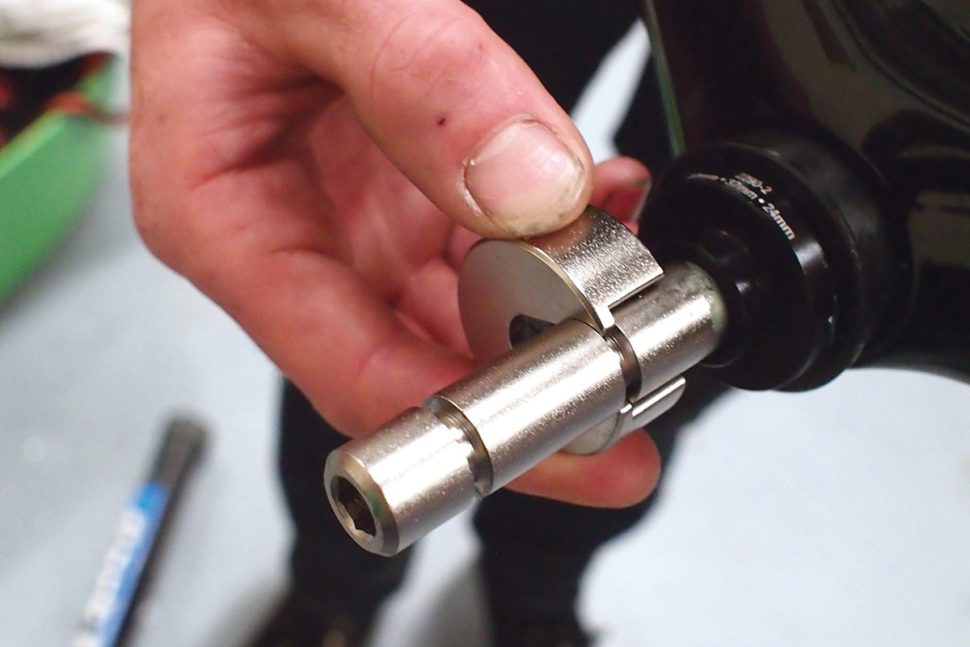
Ensure that the handle of the press is wound far enough out that you’ll be able to sufficiently tighten it. Once this is done, push it as far as possible into the frame and slot the removable stop into the appropriate groove on the back of the press.
7. Apply some pressure

Check everything is correctly aligned and fitting squarely. Tighten by hand and check again. Fit a 10mm Allen key into the back of the press (to stop it spinning) and tighten the handle. Once the cups are seated, give a slight twist and you’re done.
8. Finishing up

Fitting press-fit BBs doesn’t require much force, so be careful not to overdo it. Slightly unscrew the press, pop out the stop and remove the whole assembly. Give everything a quick wipe down. Congratulations, you’ve mastered press-fit installation!
The post Watch: How to fit a press-fit bottom bracket appeared first on Cyclist.